The Ultimate Guide to Making Your Own Malt Vinegar Using Key Ingredients
Making your own malt vinegar at home is an easy and rewarding task. Whether you want to add a unique flavour to your dishes or create something special, distilled malt vinegar is a great option. You can make a delicious and versatile vinegar for various dishes with the right ingredients and techniques. In this guide, we’ll discuss the key ingredients needed to create your own malt vinegar, its different uses, and the steps to start making your own distilled malt vinegar.
Making your own malt vinegar at home has many benefits, including the ability to customize the flavour and acidity to your liking. Plus, it is a fun and educational project that will teach you about the science of fermentation. Try it and see what delicious creations you can make with homemade vinegar.
What is Malt Vinegar?
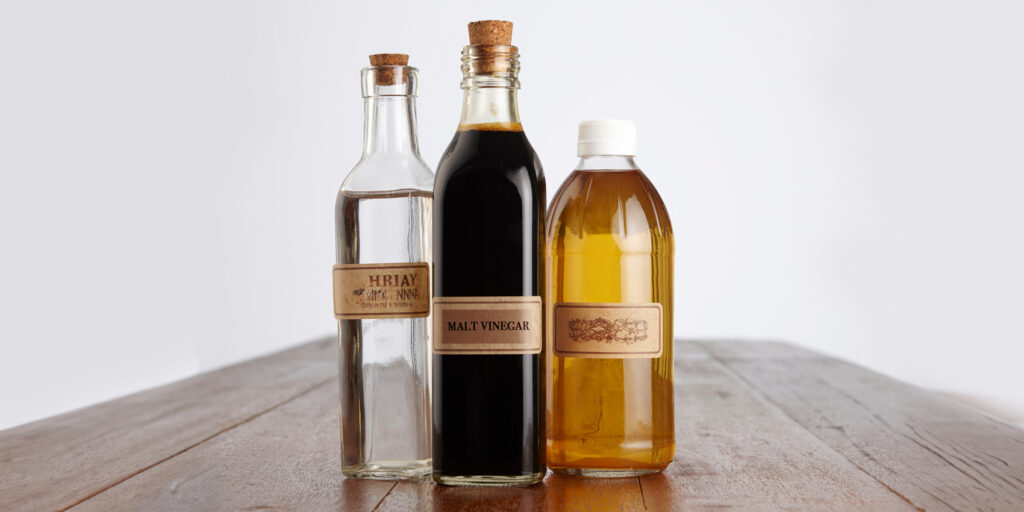
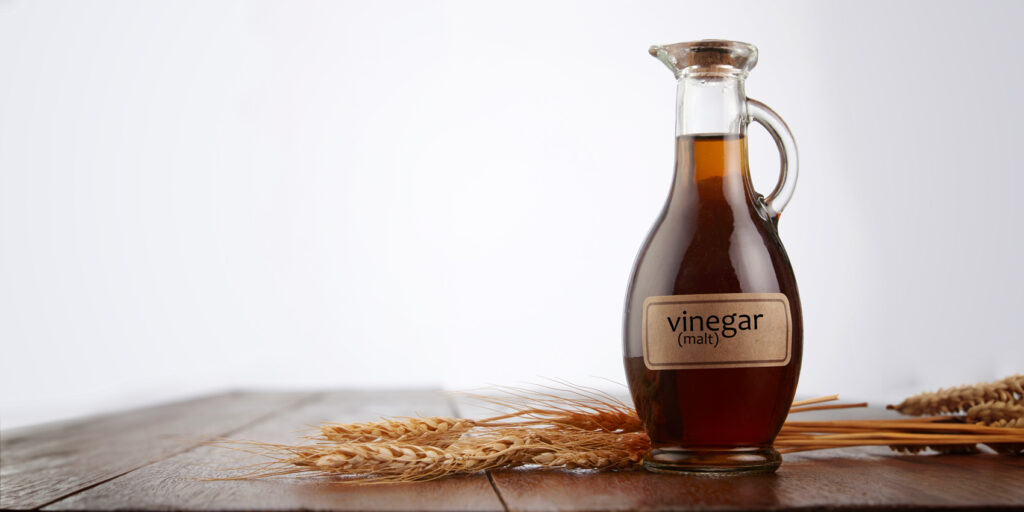
Malt vinegar is a type of vinegar that is made from malted grains of barley. It has a distinct taste and aroma, with a tangy and slightly sweet flavour that makes it a popular condiment for fish and chips, as well as salads and marinades. To make vinegar, we suggest using a blend of malted grains. The grain is crushed and goes through a mashing process to generate a fermented wort. This mixture is left to ferment for several days, after which it is strained and left to ferment again to produce acetic acid, the main component of vinegar.
While malt vinegar has many benefits, it is important to note that it is not gluten-free due to the presence of grain. However, for those who can consume gluten, malt vinegar can be a great addition to various dishes. So why not try making your own vinegar at home and enjoy its unique flavour and benefits?
Key Ingredients for Making Malt Vinegar at Home
To make malt vinegar at home, you will need some key ingredients:
- Malted barley or spray-dried malt extract.
- Water.
- Yeast
- Yeast or a “mother” vinegar to jumpstart the fermentation process.
Malted barley is the traditional ingredient, but spray-dried malt extract can be a convenient alternative for home brewers. Both options work well for creating the desired flavour profile. Malted barley provides several malt vinegar benefits. Firstly, it contains enzymes that help convert the starches in the barley into sugar, which is necessary for fermentation. Secondly, it adds a distinctive malty flavour to the vinegar. Vinegar made with malted barley has a deeper, richer flavour than those made with other grains. Spray-dried malt extract, on the other hand, is a concentrated powder made from malted barley. It provides the same enzymes and flavour as malted barley but can be easier to handle for those who prefer a more streamlined brewing process.
Regardless of the ingredients chosen, it’s essential to use high-quality, fresh ingredients for the best results. It’s also important to note that vinegar takes several weeks to months to fully develop its flavour, so patience is key when brewing your own batch.
Equipment Needed for Making Malt Vinegar
The good news is that to make malt vinegar at home, you don’t need any specialized equipment beyond what you might use for brewing beer. This includes a large pot, a fermenting vessel, and an airlock. If you don’t have a homebrewing setup, you can still make malt vinegar using simpler equipment, such as a Kilner jar and cheesecloth. However, research the best methods for sterilizing your equipment and creating a safe fermentation environment.
One benefit of making your own malt vinegar is that you can choose high-quality ingredients, such as beautiful speciality malted barley, and avoid any preservatives or additives that might be found in store-bought varieties. Plus, the satisfaction of making your own vinegar is hard to beat.
In general, making this vinegar requires a bit of patience and attention to detail, but the end result is a delicious and versatile condiment that can be used in a variety of recipes. Whether you’re a homebrewer or a vinegar enthusiast, try malt vinegar and reap the benefits of making your own at home.
Step-by-Step Guide to Making Malt Vinegar at Home
To make malt vinegar at home, you must follow a double fermentation process. The basic pathway to vinegar production involves starting with an alcoholic liquid, introducing a culture of acetobacter bacteria, and providing oxygen. In the case of vinegar, the alcoholic liquid is made from malted barley. This is where the recipe formulation becomes crucial. Using high-quality malts, such as those from Geterbrewed, will profoundly affect the flavour and complexity of your vinegar.
The starting gravity is one of the most significant variables when making malt vinegar. This measures the sugar content in the malt extract, which will impact the residual sweetness and acidity of the final vinegar. Calculating and monitoring gravity throughout fermentation is essential to achieve your desired flavour profile.
- First, make a malt extract by steeping malted barley in hot water. The resulting liquid will be the base for your vinegar, which needs to be fermented with yeast (see recipe below).
- Next, add a culture of acetobacter bacteria to the malt extract. These bacteria will convert the alcohol in the malt extract into acetic acid, which is the main component of vinegar.
- After adding the bacteria, let the mixture sit in a warm, dark place for several weeks to allow conditioning. You may notice a white film forming on the surface of the liquid. This is called the mother and is a natural byproduct of the fermentation process.
- Once the vinegar has fermented to your desired level of acidity, you can strain it through a fine mesh sieve and store it in a sterilized bottle.
For example, here are two Dark Malt Vinegar Ingredients recipes using all-grain brewing methods.
1 – Dingemans Malt Vinegar
For a 21-litre batch. Based on an efficiency of 75%.
This will result in a rich and robust malt vinegar with a balanced sweetness and acidity, with intense caramel and malty flavour. This recipe uses exquisite Belgian Malts from Dingemans:
- Dingemans Maris Otter 4kg
- Dingemans Special B 1kg
- Dingemans Amber Aromatic 500g
- Mashed at 67 degrees for 1 hour.
- This single infusion mash will give you a starting gravity of 1061
After primary fermentation, it should finish at 1015. We recommend using Fermentis S-04 yeast for the primary fermentation at 18-22 degrees. The second fermentation stage is adding the mother, which converts the alcohol and lowers the pH. You must monitor the pH drop over a few months for best results. The Ph after primary fermentation will be 4.0-4.4. After secondary fermentation, you should aim for a range of 2.5-2.7.
2 – F&J Malt Vinegar
For a 21-litre batch, this recipe uses genuinely beautiful speciality malts from French & Jupps. Based on an efficiency of 75%. This will result in a deep flavoured malty biscuity vinegar with notes of vanilla & golden syrup.
- Crisp Finest Maris Otter 4kg
- French & Jupps Amber Malt 1kg
- French & Jupps Pale Chocolate 500g
- Mashed at 67 degrees for 1 hour.
- This single infusion mash will give you a starting gravity of 1061
After primary fermentation, it should finish at 1011. We recommend using Fermentis US-05 yeast for the primary fermentation at 18-22 degrees. The second fermentation stage is adding the mother, which converts the alcohol and lowers the pH. You must monitor the pH drop over a few months for best results. The Ph after primary fermentation will be 4.0-4.4. After secondary fermentation, you should aim for a range of 2.5-2.7.
By following this step-by-step guide and experimenting with different recipe formulations, you can unlock the full potential of homemade vinegar. The benefits of making your own vinegar extend beyond the satisfaction of creating something from scratch. You’ll also have the opportunity to tailor the flavour and acidity to your personal taste preferences, opening up a world of culinary possibilities. So grab your malts and get brewing!
Troubleshooting Tips
Making malt vinegar at home can be a delicate process, and watching for potential issues is important. Here are some troubleshooting tips for making malt vinegar at home:
- Preserve the mother for future batches. The mother is a colony of beneficial bacteria that helps to transform the alcohol into vinegar. By preserving the mother, you can use it to kick-start future batches of vinegar.
- Check the acidity approximately every ten days. As the vinegar ages, its acidity level increases. It’s essential to check the acidity every ten days or so to ensure that it’s not becoming too acidic, which could compromise the flavour and quality of the vinegar.
- Experiment with different grain blends— vinegar benefits from a blend of different grains. Try experimenting with different ratios of barley, wheat, rye, and other grains to find the combination that suits your taste preferences.
- Consider oak ageing the vinegar to add complex flavours. Oak ageing can add subtle, complex flavours to the vinegar, elevating its flavour and making it more enjoyable to consume.
With these tips, you can troubleshoot any potential issues and enjoy the delicious benefits of homemade malt vinegar.
Using and Storing
- Once you have successfully brewed your own malt vinegar, proper storage is crucial to maintain its quality and freshness. Malt vinegar has a relatively long shelf life, but improper storage can shorten its lifespan and cause spoilage.
- Factors such as temperature, light, air exposure, and contamination can affect the shelf life of your malt vinegar. To ensure its longevity, store your vinegar in a cool, dark, and dry place, away from heat sources, such as ovens and stovetops. Choose airtight containers, such as glass jars or bottles with tight-fitting lids, to prevent air exposure and avoid contamination.
- Refrigeration can also extend the shelf life of your vinegar, especially if you live in a warmer climate or have limited pantry space. Place your vinegar in the refrigerator and make sure it is tightly sealed. This will slow down the fermentation process, keeping your vinegar fresher for longer.
- However, it is important to avoid cross-contamination by not storing your vinegar next to foods with strong odours, such as onions or garlic. These aromas can transfer to your vinegar, altering its flavour.
- Freezing vinegar is not recommended as it can cause the vinegar to break down and change its texture. Instead, focus on using and enjoying your homemade malt vinegar while it is fresh and at its best. Proper storage techniques allow you to enjoy the full malt vinegar benefits for several months.