The Ultimate Guide to Bottle Homebrew for Beginners, so let’s look at how to bottle homebrew….
Are you a homebrewer looking to learn more about the various homebrew bottling techniques? Then you’ve come to the right place! In this ultimate guide to bottling homebrew for beginners, we will cover everything you need to know about getting started with bottling your beer. From the basics of sanitization to understanding bottle priming. You’ll learn all the best tips and tricks for successful homebrew bottling. So if you’re ready to take the next step in your homebrewing journey, let’s get started!
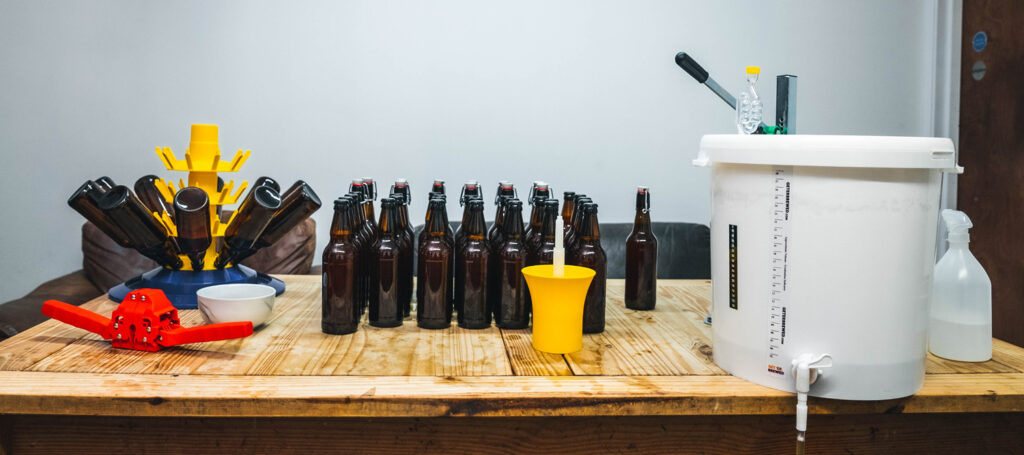
Materials Needed
Bottling your homebrew beer can seem intimidating, but it’s quite straightforward with the right materials and a bit of practice. Before you begin, gather all the necessary items for the bottling process.
The basics:
- Bottling fermenter
- Tap with a bottle-filling stick
- Sanitising solution
- Bottle rinser
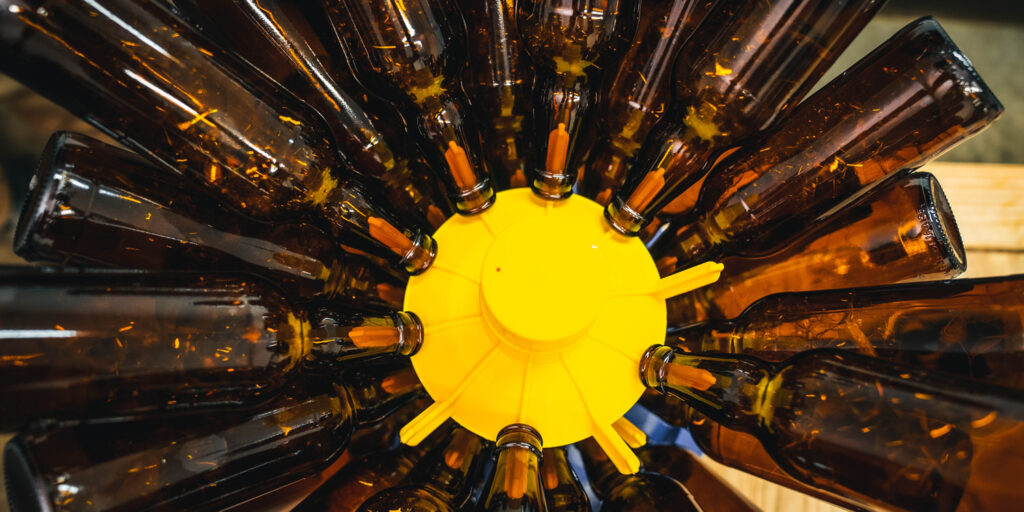
- Bottle tree
- Caps and a capper.
If you want to add carbonation to your bottles, you’ll also need some priming solution. Priming solutions can be as simple as a level teaspoon of brewing sugar per 500ml bottles. You can also buy carbonation drops to place into each bottle. Consider getting a bottle-filling gun connected to a pressurised fermenter or corny keg setup for a more advanced setup to fill your bottles under pressure. No matter which method you choose, have fun and enjoy the experience of bottling your homebrew beer at home!
- See our full range of Bottling Solutions HERE
- See all the different colours of caps HERE
- See our range of Cleaning Products HERE
Sanitizing Your Bottles
Good cleaning and sanitizing protocols are important to ensure a successful and safe brew. It’s also crucial that your bottles are completely dry before adding caps. The process can be made easier with a bottle rinser, a bottle tree, or an easy drainer for quick and efficient air drying.
Choose a good quality sanitizing solution such as the Chemipro range or 5 Star chemicals when sanitising your bottles. These are the best products to ensure your bottles are hygienic and free from unwanted bacteria. You should ensure that each bottle is soaked in the sanitizing solution for the recommended contact time before rinsing it with water and allowing it to air dry. Some chemicals for sanitising are non-rinse if you want to make things that little bit faster.
Geterbrewed also sells professional brewery-grade bottles to the homebrew community.
Filling Your Bottles
Brewing your homebrew beer is incredibly rewarding. It can be an exciting part of the process when it comes time to bottle the finished product. When filling your bottles, you must ensure you have the right equipment. We recommend the Geterbrewed fermenters as they come with a top-quality tap with the option to add a bottle-filling stick. The bottle filling stick is great as it allows for siphonless filling with less contamination risk.
When it comes to filling your bottles, aim to cap them as quickly as possible after filling. This will minimize any chance of bacteria entering the bottle and spoiling the beer. You also need to ensure you have calculated the correct priming solution. Depending on the style of beer you are brewing, several options are available for priming. This includes brewing sugar, carbonation drops, spraymalt or secondary fermenting yeast.
Finally, to make bottling your homebrew beer easier, setting up a gravity feed filling station will make for an easy bottling day. Ensure all your equipment is sanitized and you use new caps for each bottle. With this method, you can bottle multiple beers simultaneously with minimal effort. Enjoy your homebrew beer after it has had time to condition in the bottles!
When you’re ready to bottle, start by sanitizing all bottles, caps, hoses and spigots with a no-rinse sanitiser like Star San or Chemipro. Rinse the bottles and add them to your bottle tree or easy drainer. Fill each bottle with your homebrew beer using the bottle-filling stick or hose connected to the tap. Then add a bottle cap to each bottle and use a capper or bottle crimper to secure them tightly. After bottle conditioning, you can enjoy your delicious homemade beer! Don’t forget to label your bottles with details like style, ABV, date bottled, and ingredients used if you want to share with friends or enter them in a homebrew competition. This simple guide will ensure your bottle successfully and enjoy delicious homebrew beer with family and friends!

Capping Your Bottles
The final step in bottling homebrew beer is adding caps to your bottles. There are many choices for cappers on the Geterbrewed website, ranging from hand-held to tabletop cappers. When using a handheld capper, it is important to ensure that you have balance across the handles. Press the handles evenly together to prevent crimping the cap. If using a tabletop capper, you should consider securing the base to the table to ensure that it doesn’t slip when applying pressure. Additionally, it is recommended that you use good quality caps, as they will seal better than generic ones. You may also want to consider using different colours for each batch of beer you bottle to differentiate them during bottle conditioning easily.
Secondary fermentation and storage
It’s important to note that beer is usually bottled warm, at 15.5–21°C (60–70°F). Cold bottling can lead to stuck refermentations and result in flat beers. Refermentation is usually complete within 2-3 weeks. The yeast will settle to the bottom of the bottle, where it can continue to help the beer evolve. Unlike the méthode Champenoise, which utilizes remuage and dégorgement processes, bottle conditioning does not involve these steps and requires adding caps to bottles for storage. After bottle priming, you must keep the beer somewhere warm for one week. Then it can be placed somewhere cool to condition for two weeks. The temptation to try one is real, and the positive spin to put on it is that you get to see how the beer evolves throughout the different stages. Properly stored bottles should remain fresh for several months, so store your homebrew in a cool and dry place.